
San Diego might appear as a paradise on Earth. But it comes with its own set of flaws. Many of them are closely tied to faulty plumbing systems. If you’re in need of drain cleaning and sewer cleaning in San Diego this article is aimed to help you. The Importance of Drain and Sewer Cleaning […]
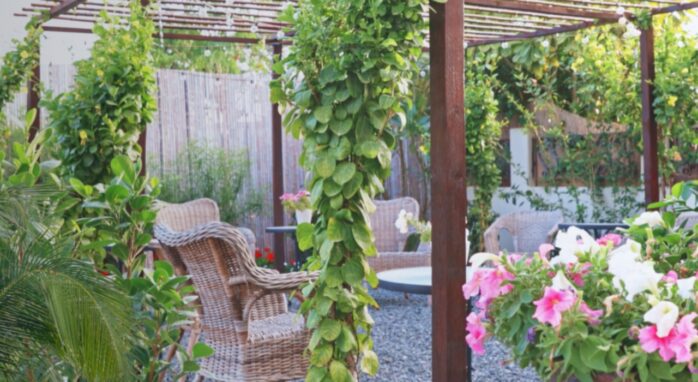
Everything You Need to Consider Before Decorating Your Indoor and Outdoor Space
Everyone is happy each time they stare at their indoor and outdoor space after it is well-designed. Note that no matter the size of your outdoor area space, there will always be those outdoor plants that will make the area appear beautiful. However, indoor plants are also available to make your office or house your […]

How to Design Your Garden: From Blank Canvas to Blooming Paradise
Gardening is more than just planting flowers and vegetables in the ground. It’s an art form that allows you to create a beautiful and functional outdoor space that you can enjoy year-round. Designing a garden can seem a stressful task, but with a few simple steps, you can create a garden that is both beautiful […]
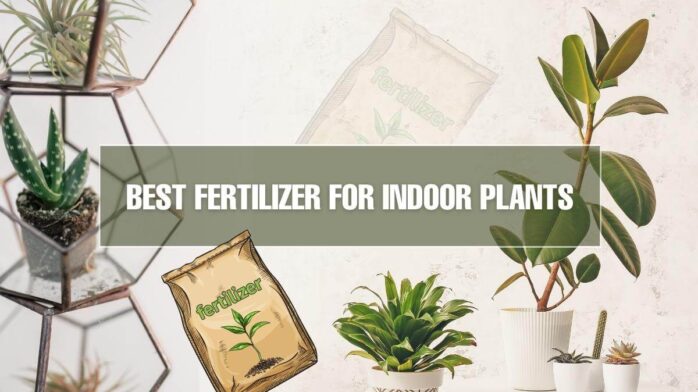
Top 11 Best Fertilizer for Indoor Plants 2024 – Top Supplements for Plants
Basically, Indoor Plant Fertilizer is a multivitamin to the crop. It supplements the energy they get from the sun and soil, ensuring that they have all they need to grow strong roots, lush leaves, and beautiful blooms. If you are searching for the right Indoor Plant Fertilizer, we will be here to help. When it […]
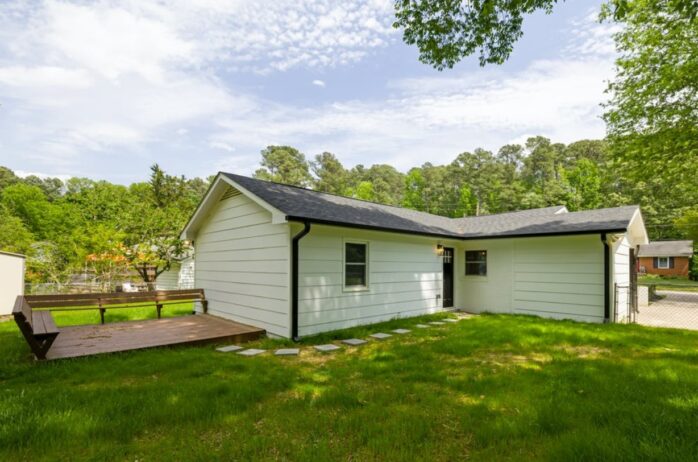
Build Your Backyard Shed Using These Popular Wood Siding Techniques
Firstly, congratulations on building your backyard shed successfully. You should give yourself a pat on your back, especially if this was a DIY project—what a major accomplishment. However, if you’ve got curious neighbors gawking at your backyard, especially the yellowish wooden box stealing the show (sarcastically), you might want to consider doing something about it. […]
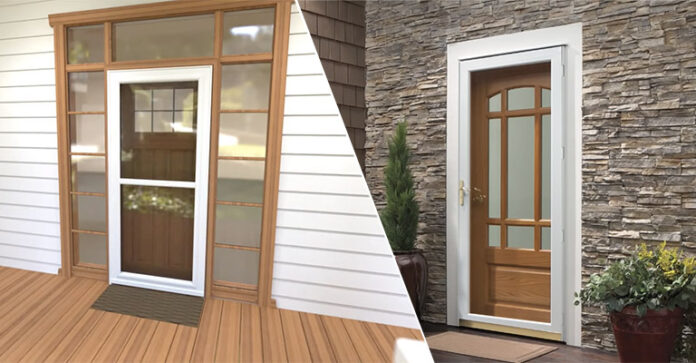
Larson vs. Andersen Storm Doors: Which One to Pick?
When you think of buying a storm door, some questions may arise in your mind about the best storm doors in the market. Larson and Andersen are at the top of the list and many get confused between the two, wondering which one is best? Larson or Andersen storm door? So for making it easier […]
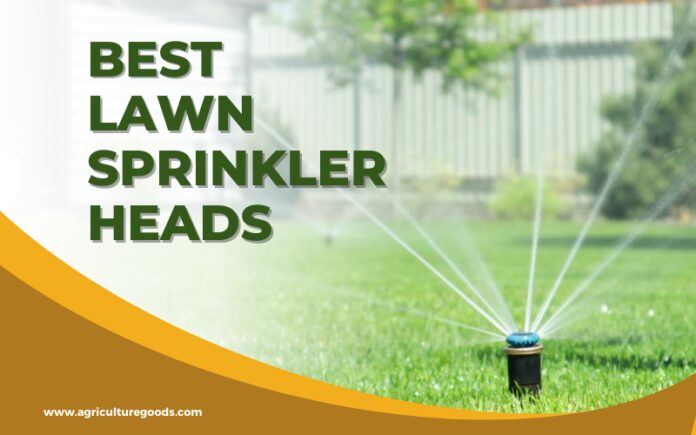
10 Best Lawn Sprinkler Heads 2024 – Keeping your Lawn Watered and Mowed
You want a lovely green lawn. That means keeping it watered and mowed. Watering your lawn with a hose, or watering can, is always too difficult. You should then look for the right sprinkler heads for both big and small lawns. It’ll do all the watering for you, that way. It’s a time saver and […]
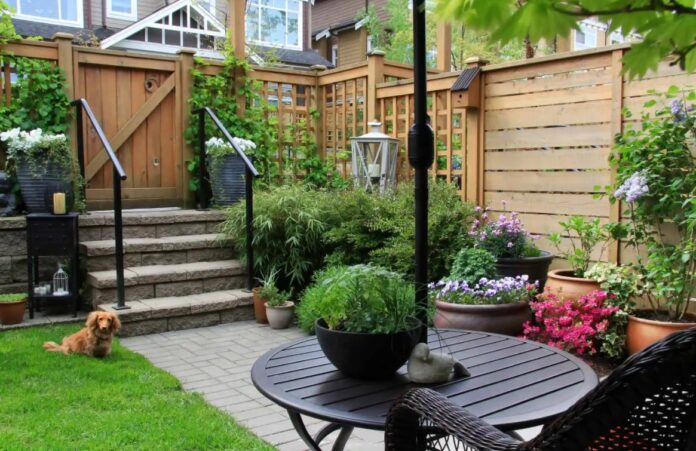
11 Cheap Ways to Block Neighbors View (Full Backyard Privacy Ideas)
Searching for some cheap ways to block neighbors’ views and have full backyard privacy? This article will incorporate some of the most important information regarding privacy and how you can easily do that at your home. Some of the methods may require help from a professional. However, most of the methods are simple and easy […]
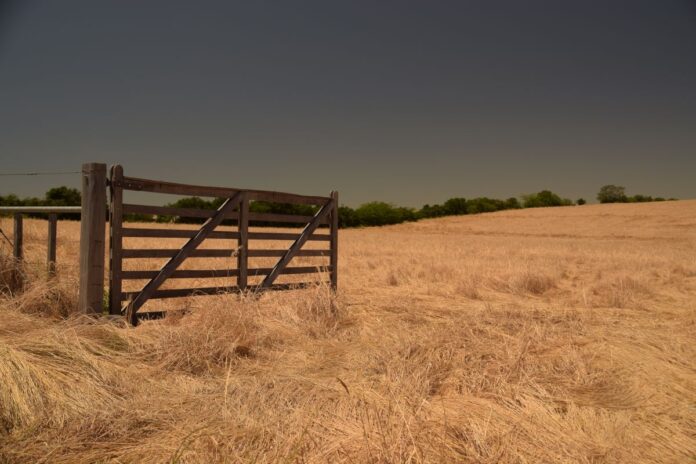
5 Reasons Why Buying a Ranch Is a Good Investment in 2024
Investing is all about the right timing and opportunity, regardless of the market, but investing in certain things that most often overlook is always the best option. One of those things that are always a good investment, especially now, in 2024, is a ranch. Namely, buying a piece of land is always preferable, but many […]
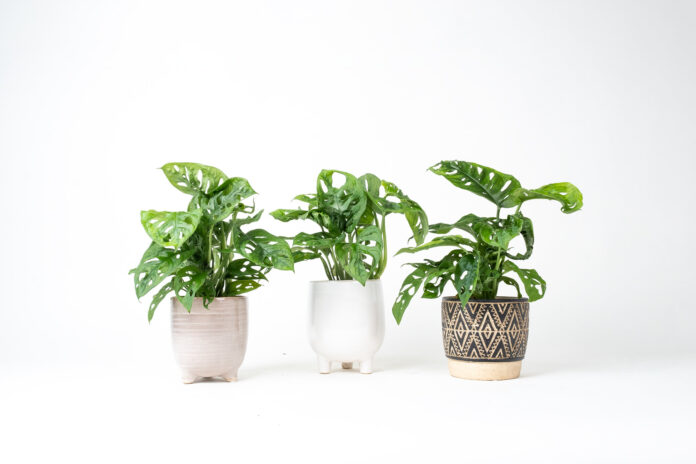
Monstera Adansonii Care 2024 – Swiss Cheese Plant
Are you a houseplants lover? If yes, then you’ve probably heard about the Monstera Adansonii. It is also known as the Swiss Cheese Plant. This plant is an excellent choice for those with a bit of space and who wants a remarkable centerpiece at their home. But worry about the limited space? Do not fret: […]