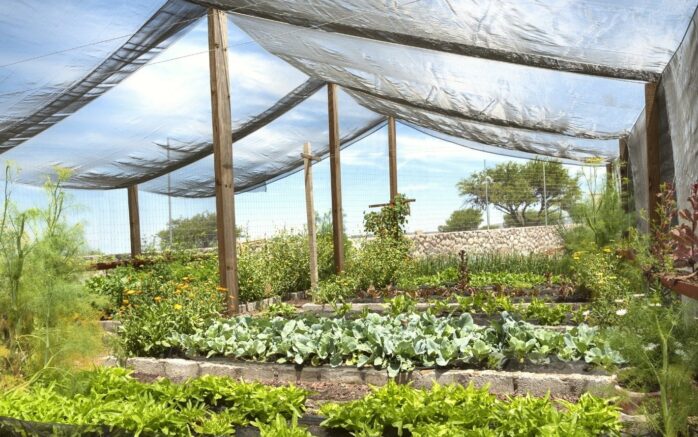
As the new gardening season of 2024 rolls around, everyone’s buzzing about how to keep their beloved green buddies safe, especially with the crazy weather lately. Among all the cool tricks out there, shade cloth is getting lots of love. This nifty fabric is a game-changer for protecting plants from too much sun and keeping […]
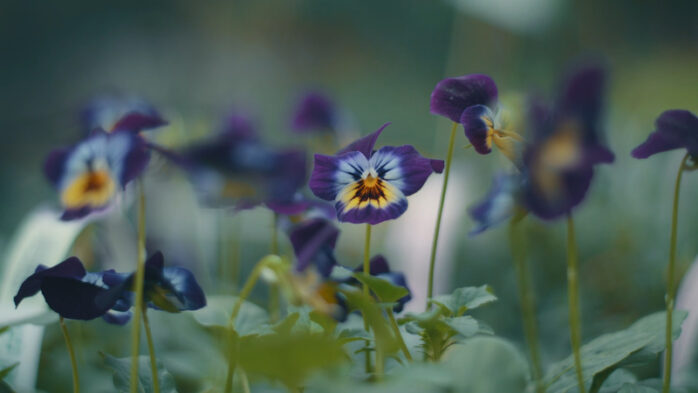
Gardening: A Journey of Growth and Beauty
Right when we plunge into the subject of developing, one fundamental truth stands out – it’s not just about creating plants; it’s connected to empowering life and removing a singular desert nursery of grandness and quietness. As an unassuming gardener, I have uncovered the deep-rooted joy and critical fulfillment that stems from the show of […]
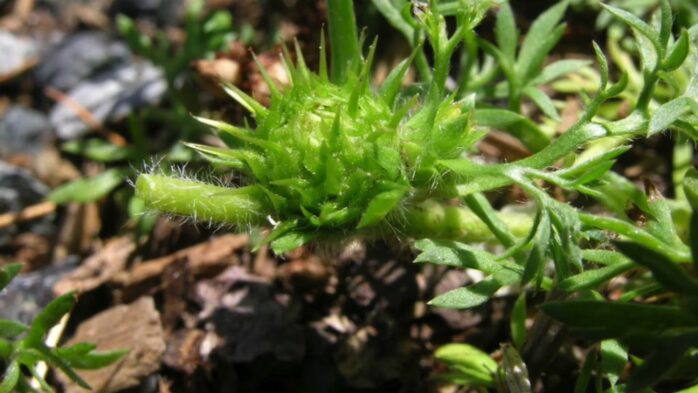
How To Get Rid of Stickers in Yard and Prevent Them Forever – Gardening Guide
Stickers in your yard can be more than just a nuisance; they can ruin the aesthetic of your outdoor space and make it uncomfortable to walk on the grass. I’ve spent years researching and implementing effective lawn care techniques, including the eradication of various types of weeds and stickers. My work has been published in […]
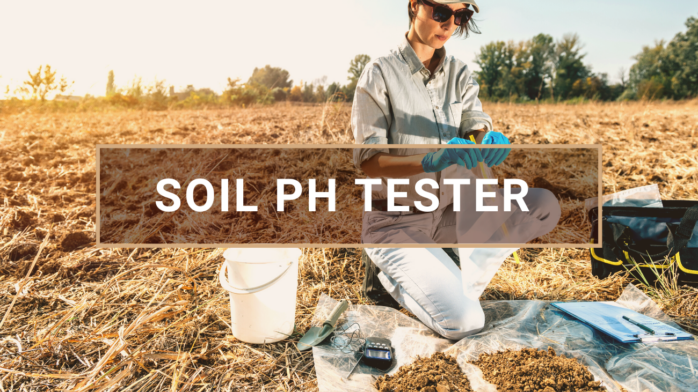
10 Best Soil pH Tester 2024 – Keep Your Plants Happy and Safe
If the soil is acidic, neutral, or alkaline, one of the most important factors for whether a plant will thrive or not is. Even the Soil pH Testers may have disastrous effects on your plants being a little off in either direction. That’s why using the right soil pH tests is so crucial to ensure […]
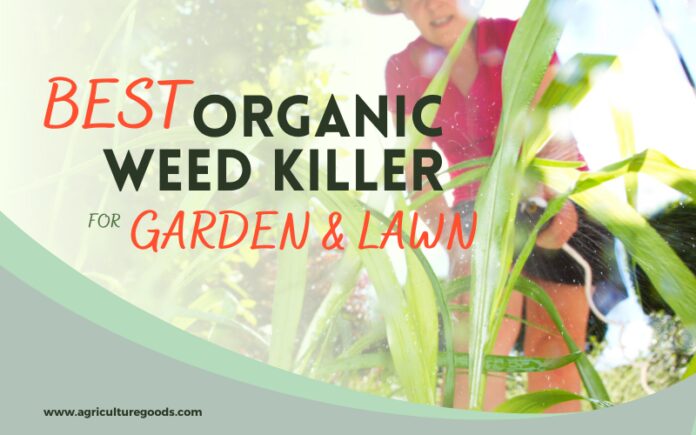
Top 10 Best Organic Weed Killer for Garden & Lawn 2024 – Detailed Guide
Weeds will improve your garden’s aesthetic appeal. And you can get rid of them as soon as they’re sprouting. Some lawn lovers face a challenge owing to the unselective presence of certain weeds and plant killers. Unselective herbicides may be toxic to the vegetation you’ve tendered for years. Knowing the right organic weed killer for […]

How to Prepare Your Garden Soil for Planting Vegetables
Healthy soil is the main factor responsible for growing healthy vegetables and fruits. Your garden soil must be in good shape so that it does not require more fertilizers and insecticides. You will get to learn some easy ways in this post to prepare your soil for plantation. Let us go through these points one […]
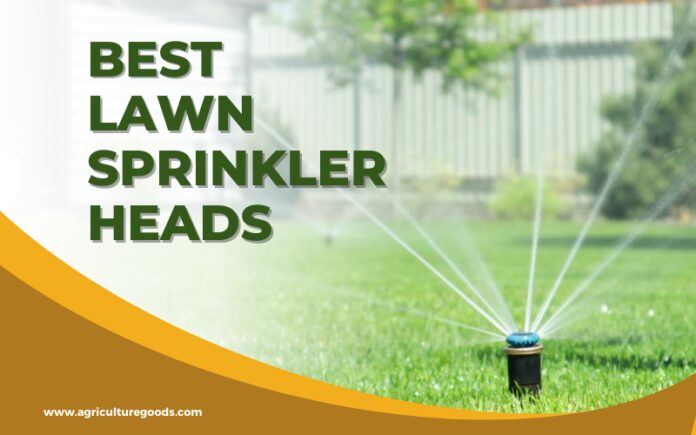
10 Best Lawn Sprinkler Heads 2024 – Keeping your Lawn Watered and Mowed
You want a lovely green lawn. That means keeping it watered and mowed. Watering your lawn with a hose, or watering can, is always too difficult. You should then look for the right sprinkler heads for both big and small lawns. It’ll do all the watering for you, that way. It’s a time saver and […]
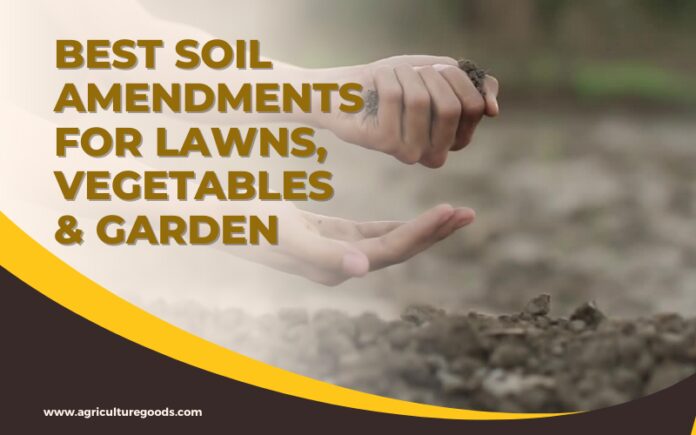
12 Best Soil Amendments 2024 – Buying Guide & Reviews
When it comes to planting treatment, there are several things to remember. If you have a flower bed, a vegetable garden, or a shelf full of houseplants, ensuring that you use the right soil Amendments for your plants is essential to healthy, solid growth. It is not convenient even to realize what’s best with your […]
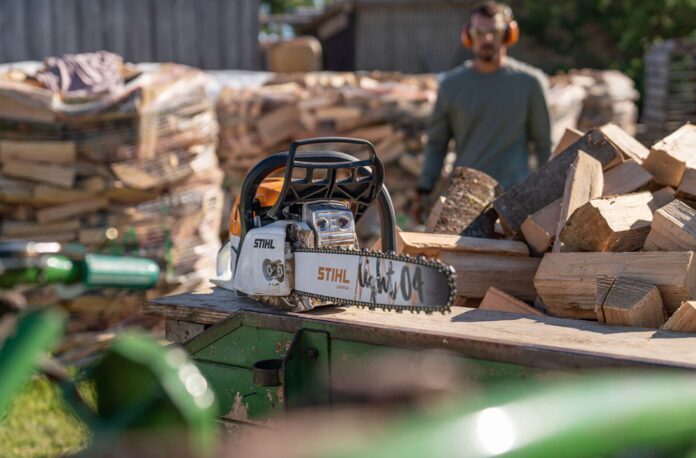
Stihl MS 271 Problems And Complaints With Possible Solutions
We understand how much it is annoying to buy a chainsaw for such an expensive cost, and it suddenly stops working due to some minor problems. There could be various reasons your chainsaw stops working. These problems might occur because of chainsaws being old or some other defaults. If we talk about Stihl MS 271 […]
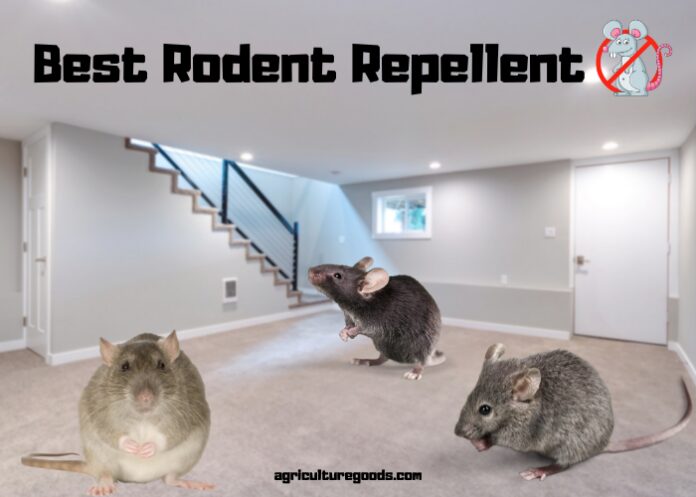
10 Best Rodent Repellent 2024 – Buying Guide & Reviews
Many homeowners realize that at some point, mice will search for shelter in their homes. It’s the law of averages at play because some poor little mouse is going to get cold and hungry. But, since it attracts even more mice and other rodents into the house, you don’t want to leave the situation. So, […]