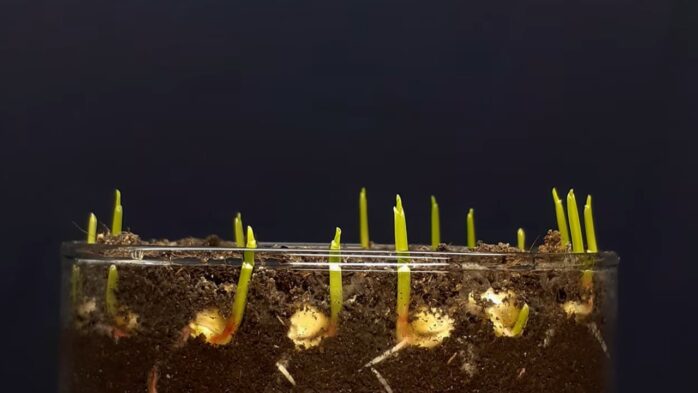
In the vast tapestry of visual storytelling, time-lapse videos have emerged as an enchanting medium that encapsulates the dynamic essence of agriculture crop growth. Beyond being a mere chronicle of farming endeavors, these videos serve as a testament to the intricate dance between nature and cultivation, offering a unique perspective on the cyclical beauty of […]
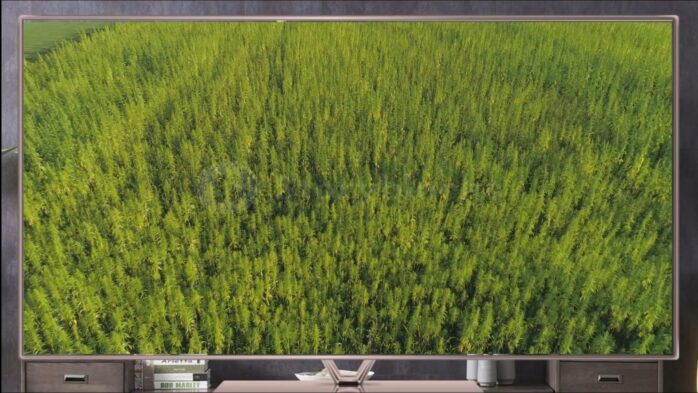
From Health To Housing: How Hemp-Derived Products Are Taking The World By Storm
Over the past few years, there has been a significant increase in the popularity of hemp-derived products for their potential health benefits and versatility. From CBD oil to clothing and construction materials, hemp is being used in a range of industries and applications. With its recent legalization in many countries, including the United States, hemp […]
Understanding the Role of IoT in Revolutionizing the Agriculture Industry
IoT has been transforming various aspects of life, and therefore, it is called the next industrial revolution. This revolution is expected to modify the practices that are carried out manually across all industries. Agriculture is one of such industries that has been already affected and is yet to transform in all shapes due to the […]
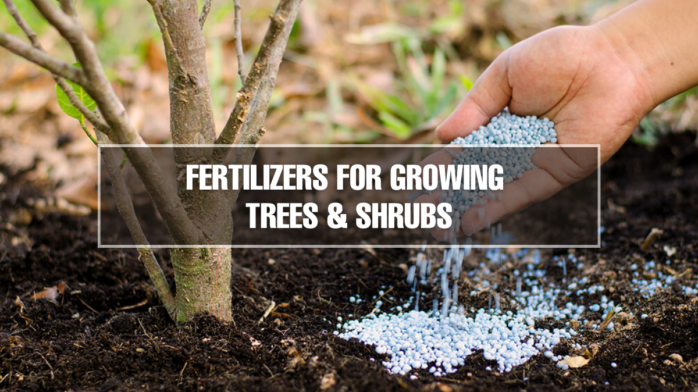
9 Best Fertilizer For Trees And Shrubs 2024 – For Fantastical Landscape
Don’t we all love a lush, green garden with vibrant flowers adorning the front yard with a fragrance so enchanting that it reminds you of a distant wonderland? Exactly. Not only does a vibrant garden provide a fantastical landscape, but it may also be a passion for some people. And if you are one of […]
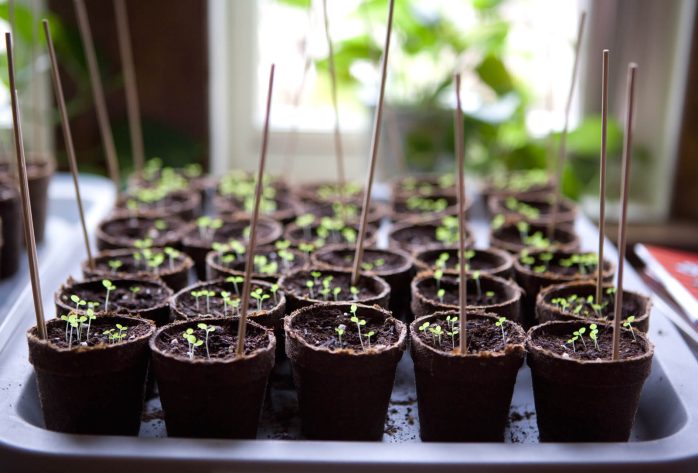
Indoor Sowing: Get Started!
Are you a garden enthusiast and want to do your own planting? All plants can be grown in an indoor environment: it is possible to grow a cauliflower indoors under lights but it will cost you a fortune in energy. It is much more interesting to grow your plants on a smaller scale in winter, […]

Schlage Lock Troubleshooting To Solve All The Problem
If you are struggling to unlock your Schlage keypad lock, then this guide is a real treat for you. Schlage is among the most advanced, robust, and reliable keyless entry systems for residential doors. However, we face many unexpected errors in everyday life and struggle with Shalge unlocking even after entering a valid user code. […]
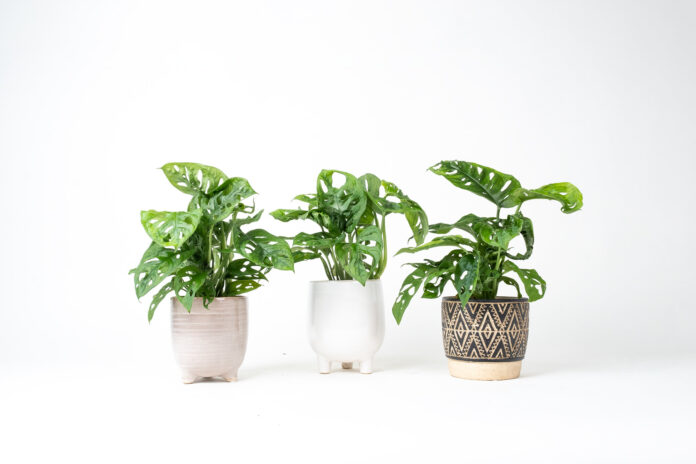
Monstera Adansonii Care 2024 – Swiss Cheese Plant
Are you a houseplants lover? If yes, then you’ve probably heard about the Monstera Adansonii. It is also known as the Swiss Cheese Plant. This plant is an excellent choice for those with a bit of space and who wants a remarkable centerpiece at their home. But worry about the limited space? Do not fret: […]

10 Best Weed & Feed for Lawns 2024 – Top Picks
Weed & feed are products that are meant to be used on grassy areas to kill weeds. Usually, these products are made up of a combination of corn gluten, fertilizers, and herbicides. The herbicide is the active ingredient in weed and feed products. This chemical serves to kill the weeds that are growing in your yard […]
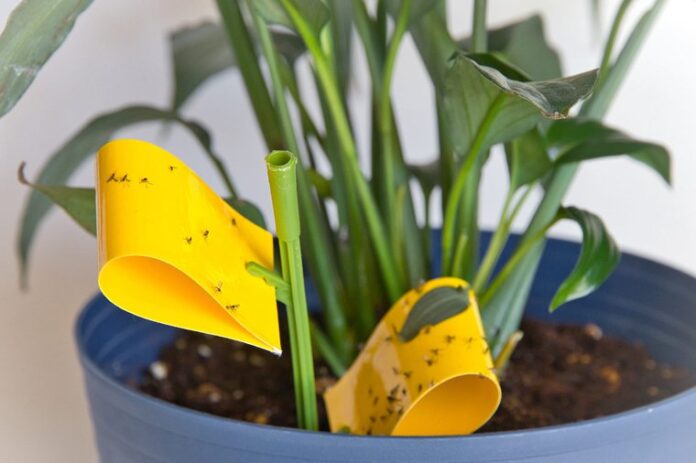
Get Rid Of Fungus Gnats With Hydrogen Peroxide 2024 – Guide
Growing plants is no less than raising a baby. It takes huge amounts of time, patience, and care to grow these plants and trees to be healthy. However, there are many insects that feed on your lush green plants and leach away all the nutrients from them. Fungus gnats are one such species that are […]
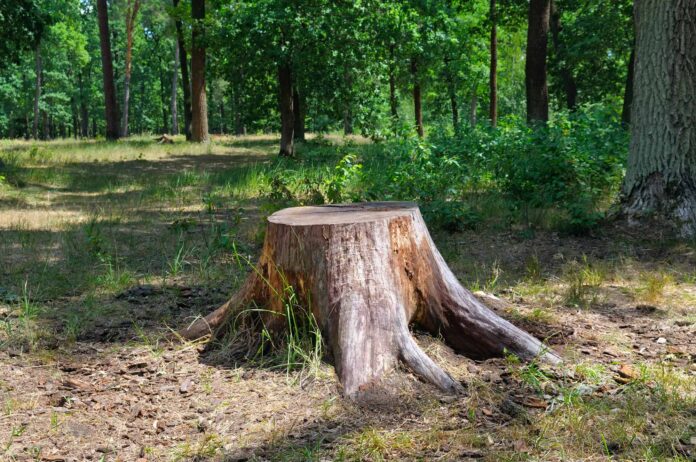
How To Kill A Tree Stump 2024 – Complete Guide
Tree stumps look ugly and cover up precious space. Tree stumps are extremely resilient, no matter how small it is. They can produce a multitude of new sprouts because the root systems flourish deep inside the earth. By removing these uglinesses from your yard and garden, you can create your setting much more interesting, and […]